Crafts
Easily Found Items become Super Fun and Pretty Easter Centerpieces
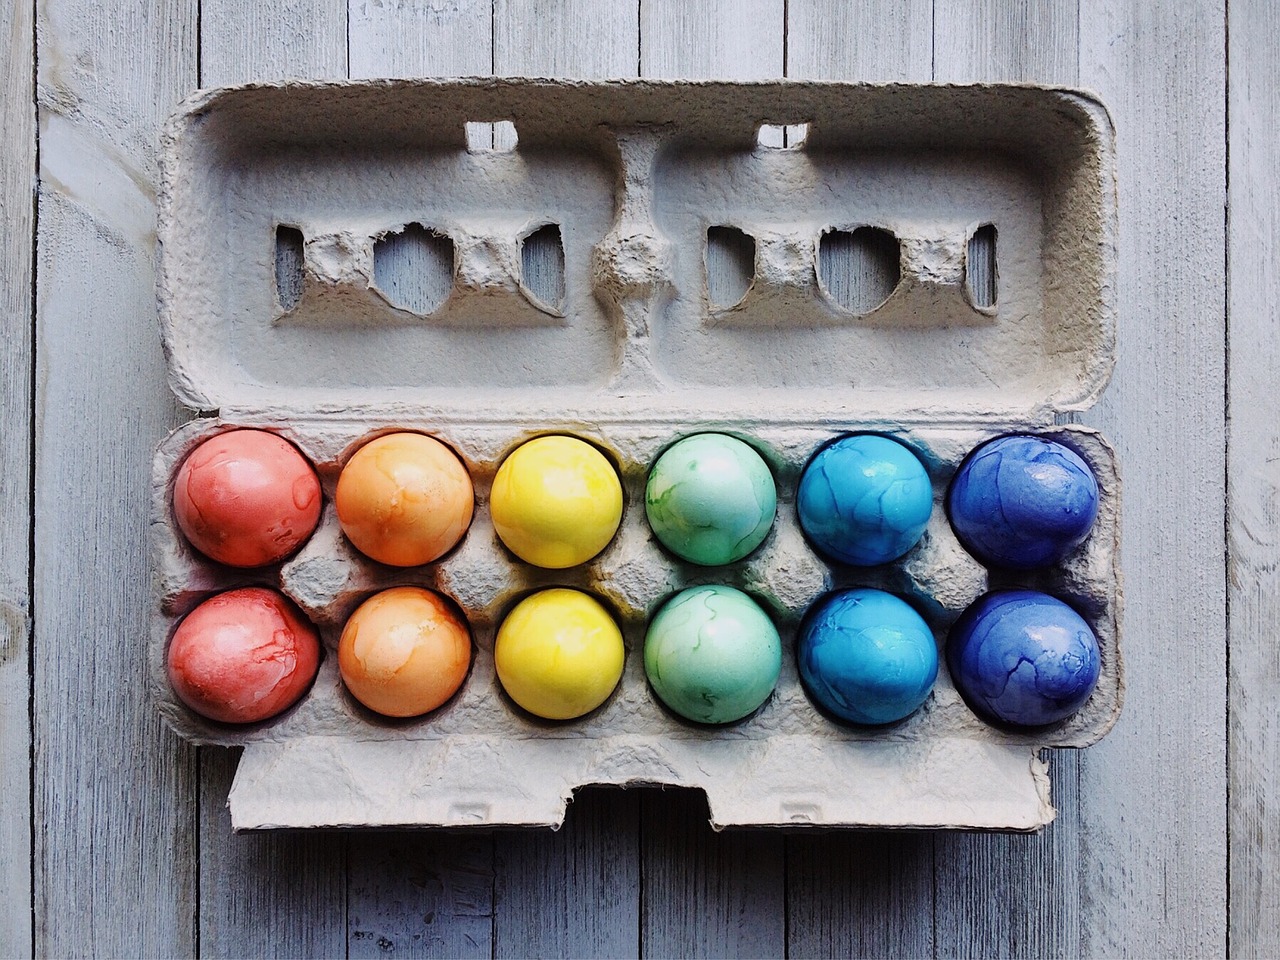
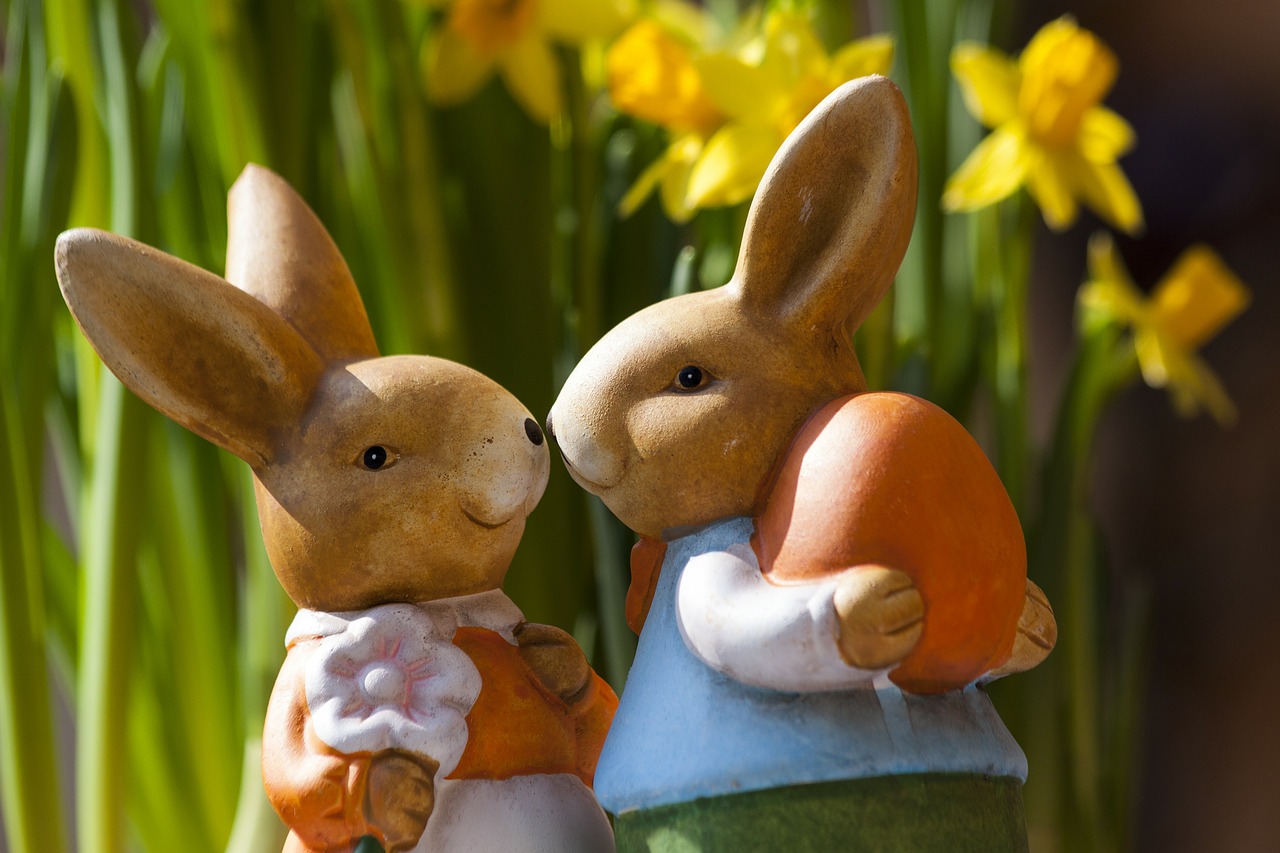
Need a centerpiece for your Easter table that is just a little bit different and has all the colors of spring? Place a pot within a
Need a centerpiece for your Easter table that is just a little bit different and has all the colors of spring? Place a pot within a
This is such a simple project to do. I think it would be cute in a set of 3. One in blue, yellow and pink!

Ah ’tis St. Paddy’s own day around the corner. I’ve the Wicked Tinkers playing bagpipes in the background and I’m doodling on pictures that will

I was inspired with this project from Pinterest. It’s so easy and fun to make. One important tip…preparation is everything with this project! Supplies: Canvas

Go crazy making Folding Paper Photo Books for everyone you love. Materials and Tools: 5 – 12×12 inch double sided design scrapbook paper coordinating embellishments
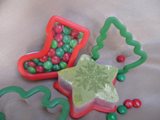
You’ll need: Supplies · Cookie cutters with a wide edge · Recycled plastic clear lids. (we used one from a party tray) · Marker · Clear bags with twist
Who doesn’t love a little home baked goodie? While the cookies are in the oven personalize your containers for the extra added touch. It’s super

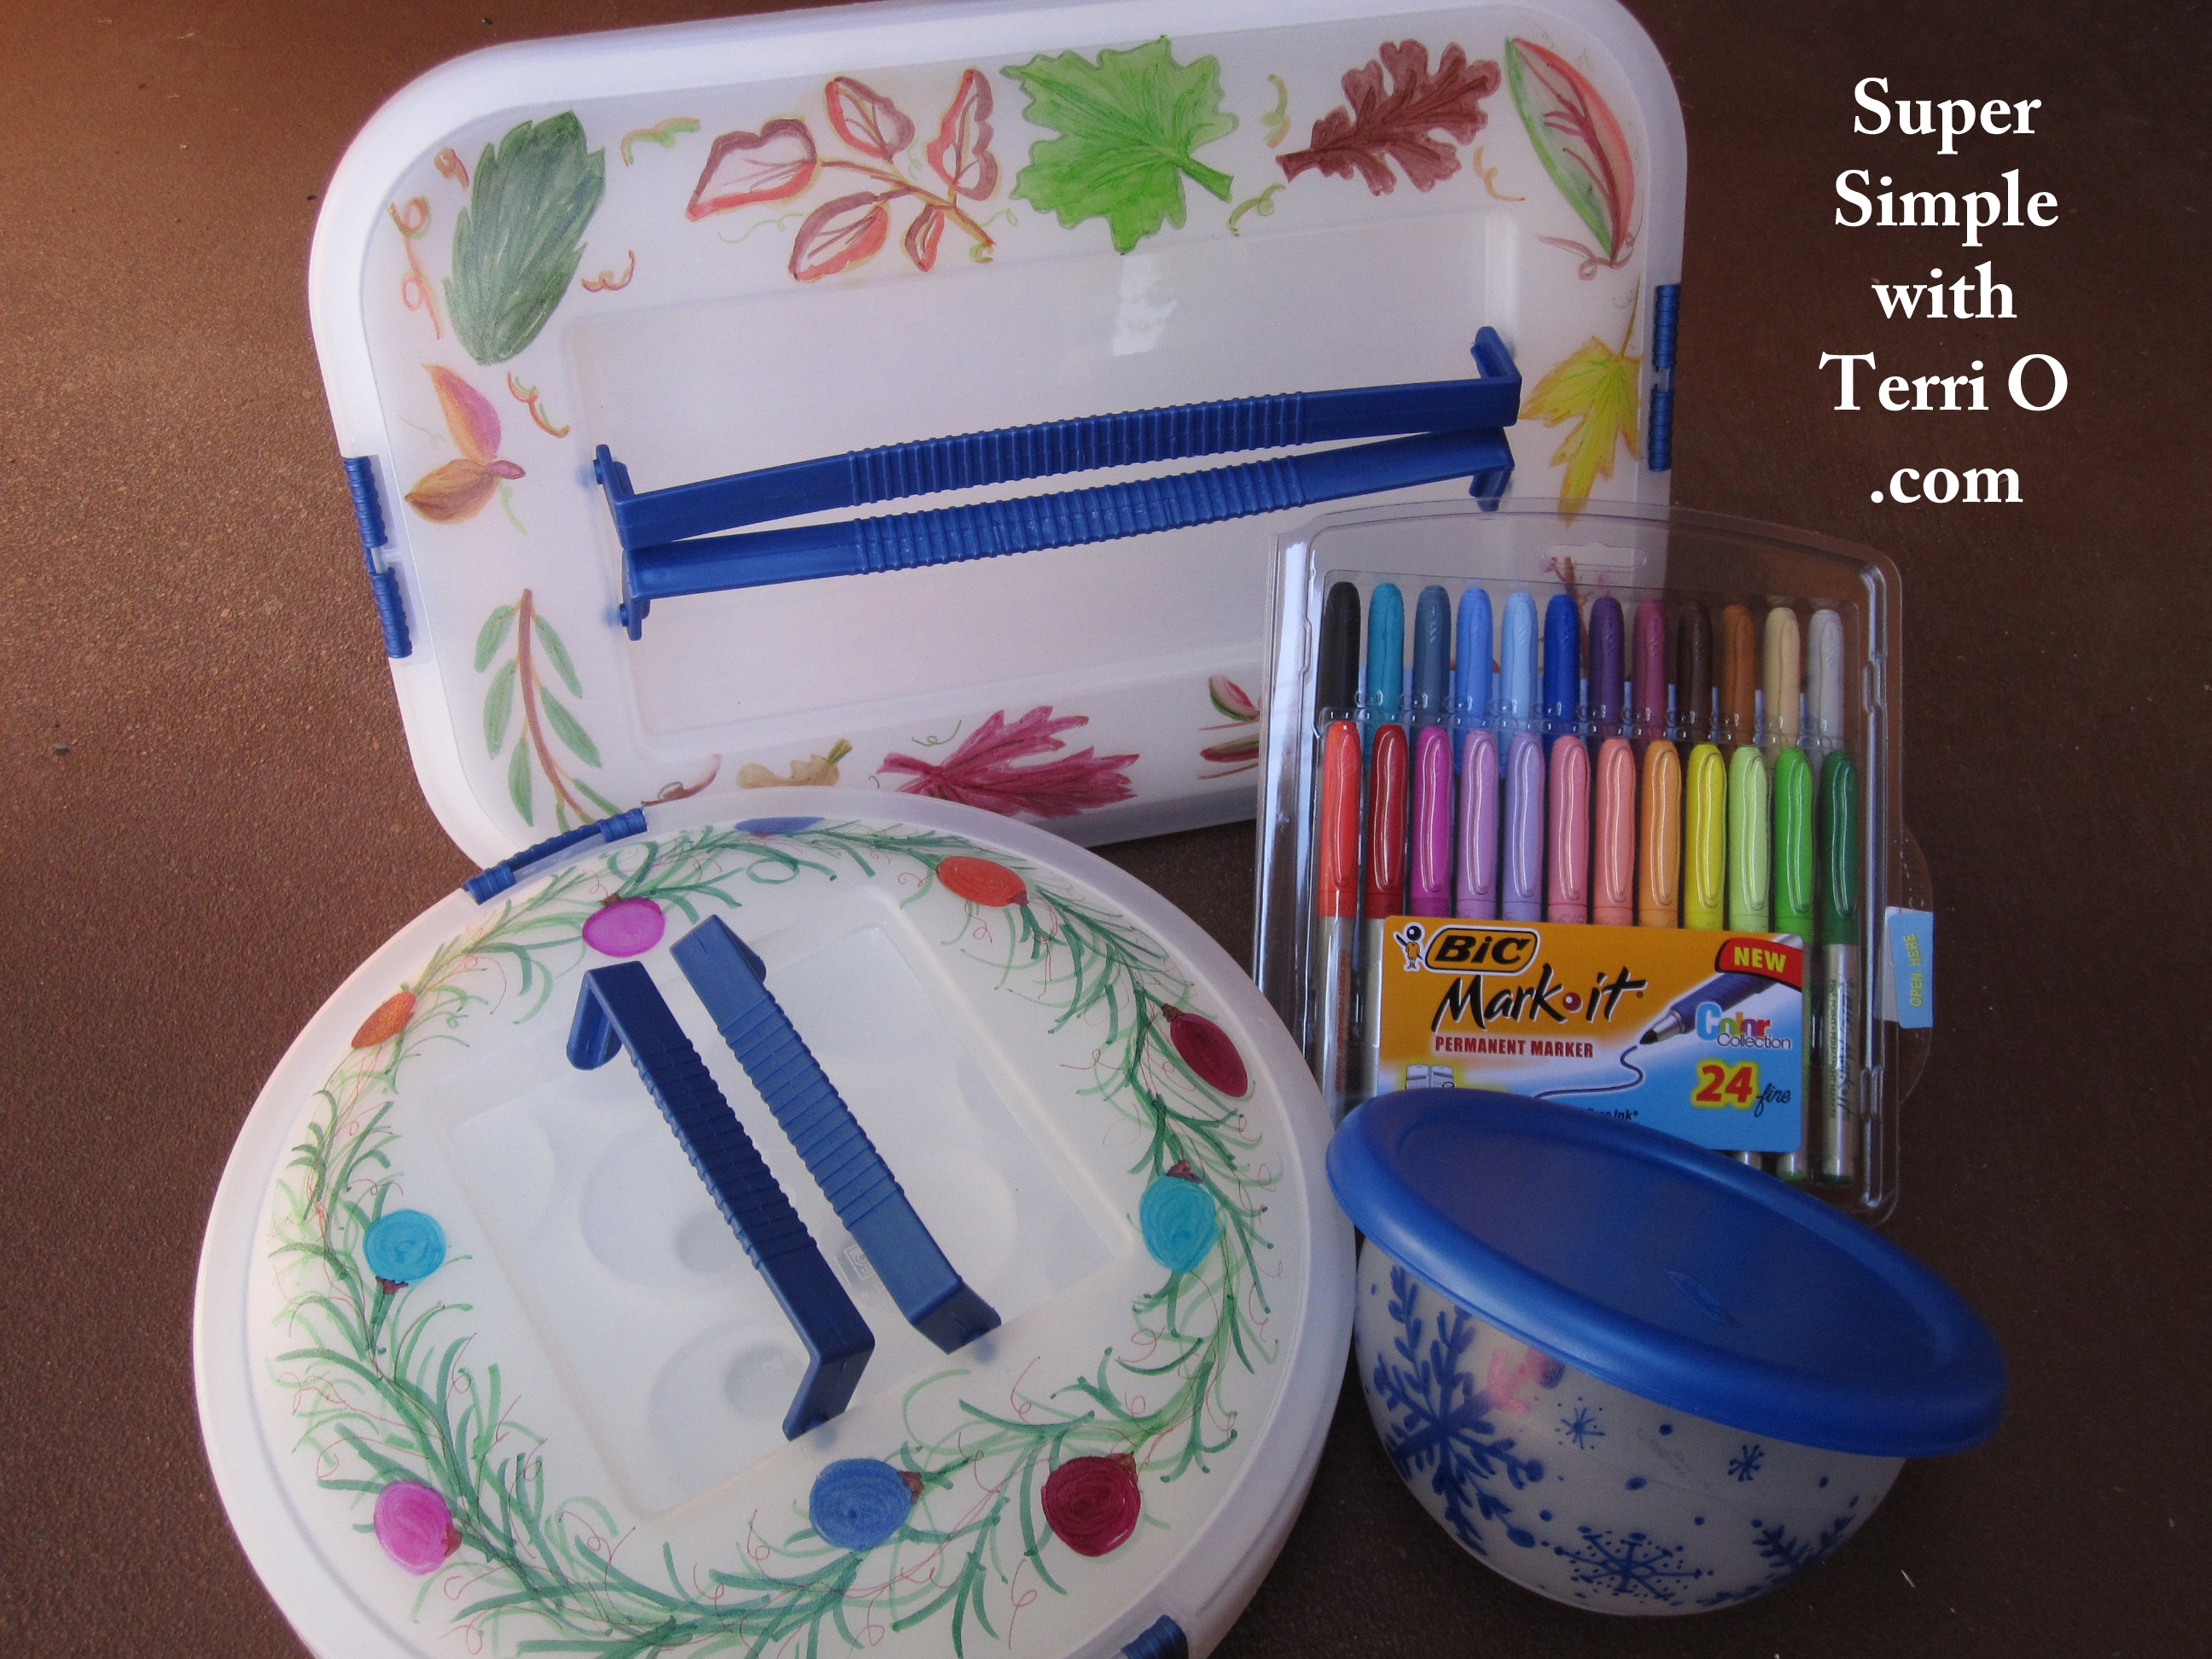
Materials and Tools: Supplies · Holiday paper or fabric · Brush · Decoupage medium · Holiday stickers · Ornament that opens up (I found some from High School Musical in
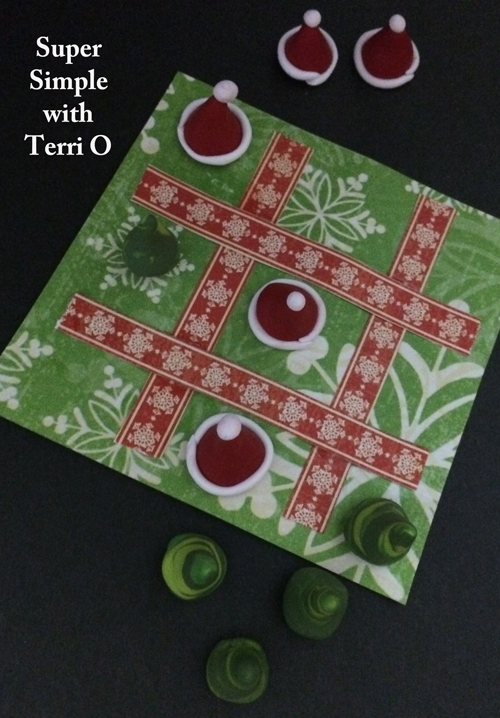
Just as their website says, “Sculpey III is the perfect medium for anyone who likes to create. Once cured, Sculpey III bakes hard and takes

Christmas cones are super simple to make. All you need is: double sided paper, ribbon, lace, glue and a couple of staples. 1. Make